Go Back
+ servings
no bake blueberry cheescake

Easy No Bake Blueberry Cheesecake (9x13 Slab Style!)

Easy no bake blueberry cheesecake with a graham cracker crust, creamy lemon pudding filling, and blueberry topping. Ready in 20 mins, serves a crowd! (158 characters)
Prep Time 25 minutes
Chill time 4 hours
Total Time 4 hours 25 minutes
Servings: 16 servings
Course: Dessert
Cuisine: American

Ingredients
  

For the Crust & Topping:
  • 3 cups graham cracker crumbs pre-made crumbs or crush your own crackers; save about ¼ cup for the top
  • ¾ cup salted butter, melted butter bottom of dish so it doesn't stick
For the Cheesecake Filling:
  • 16 oz 2 blocks full-fat cream cheese, softened to room temperature block-style, not the spreadable kind
  • 1 cup granulated sugar
  • ¼ cup lemon juice freshly squeezed is best
  • 2 cups 2% milk
  • 3.4 oz box instant lemon pudding mix do not substitute cook-and-serve pudding
  • 3.4 oz box instant vanilla pudding mix instant only
For the Topping:
  • 21 oz can blueberry pie filling
  • 16 oz tub whipped cream topping like Cool Whip, thawed — or use homemade stabilized whipped cream

Equipment

Method
 

  1. Step 1 — Make the Crust: Combine your graham cracker crumbs and melted butter in a large bowl and stir until the crumbs are evenly moistened. Set aside about ¼ cup of the crumb mixture for the topping. Press the rest firmly into the bottom of a 9x13 baking pan — use the bottom of a flat glass or measuring cup to get it nice and even. Set aside while you make the filling.
  2. (Press the crust down very firmly using the flat bottom of a glass or measuring cup — really pack it in. The crust should feel compact and hold together when you press a small amount between your fingers. If it crumbles apart, drizzle in a little extra melted butter (a tablespoon at a time) and mix again before pressing.)
  3. Step 2 — Make the Cheesecake Filling: In a large mixing bowl, beat the softened cream cheese and sugar together with an electric hand mixer on medium speed until smooth and fluffy, about 2 minutes. Add the lemon juice and milk and mix until combined. Add both pudding mixes (dry, straight from the box) and beat on medium-high until the mixture is thick, about 2 more minutes. It should be noticeably thicker than when you started — that's the pudding doing its thing.
  4. Step 3 — Assemble the Layers: Drop large spoonfuls of the cheesecake filling over the crust and spread it out into an even layer using a spatula. Take your time here — the filling is thick, so go slowly and work from the center outward to avoid pulling up the crust.
  5. Step 4 — Add the Blueberry Layer: Spoon the blueberry pie filling over the cheesecake layer and spread it gently and evenly to the edges.
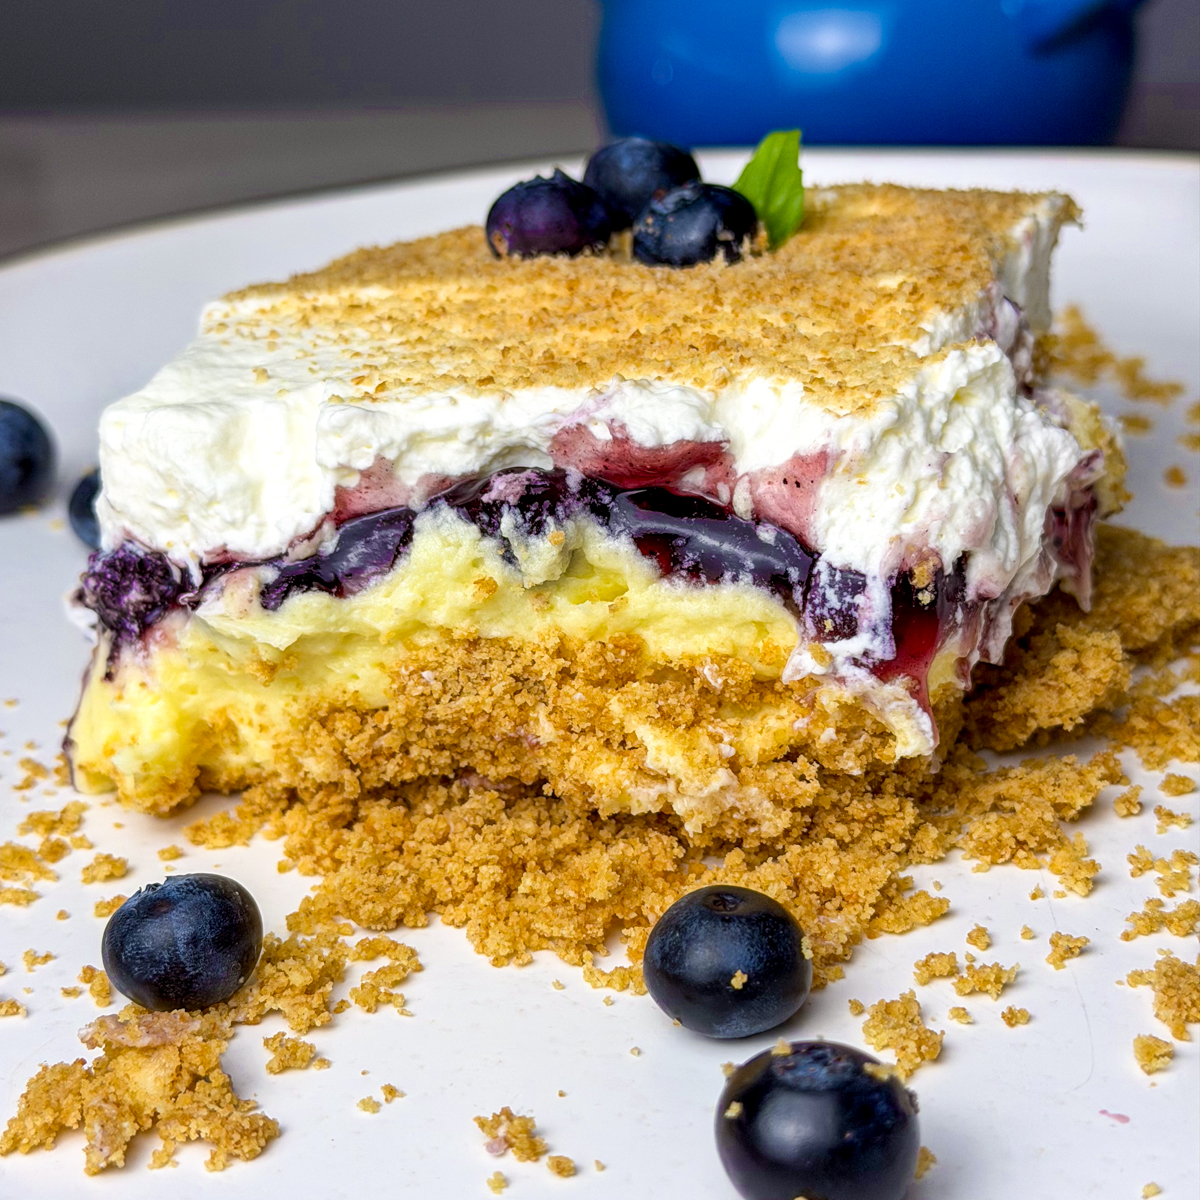
  6. Step 5 — Top with Whipped Cream: Spread the whipped topping over the blueberry layer in an even layer all the way to the edges.
  7. Step 6 — Add the Crumb Topping & Chill: Sprinkle the reserved graham cracker crumbs evenly over the top. Cover the pan tightly with plastic wrap and refrigerate for at least 3–4 hours before serving. Overnight is even better! The longer it chills, the cleaner the slices will be.

Notes

  • Press the crust harder than you think you need to. This is a deep dish slab with a heavy filling on top — a loosely pressed crust will stick to the pan instead of holding together. Use the bottom of a flat glass and really lean into it. I also like to pop the pressed crust in the fridge for 15–20 minutes before adding the filling so the butter firms up first.
  • Soften your cream cheese completely. Cold cream cheese = lumpy filling. Take it out of the fridge at least an hour before you start, or place the unwrapped block on a plate and microwave in 15-second bursts until soft. This is the #1 thing I'd tell anyone making this for the first time.
  • Save those crumbs before pressing the crust. It sounds obvious but it's easy to forget — measure out your reserved crumbs first, then press the rest into the pan. Once the crust is in, you don't want to be scooping crumbs back out.
  • Use dry pudding mix straight from the box. Don't make the pudding according to the package directions first — you're adding the dry mix directly to the cream cheese mixture. This is what makes the filling set up so thick and luscious.
To Store:
  • Fridge: Cover tightly with plastic wrap or store in an airtight container for up to 4–5 days. The crust does soften a bit by day 2 (which many people actually love!).
  • Freezer: You can freeze this! Cover tightly and freeze for up to 1 month. Thaw overnight in the fridge before serving. Skip the whipped topping before freezing and add it fresh when you're ready to serve for the best texture.
  • Make-ahead tip: This is an ideal make-ahead dessert. You can make it up to 2 days in advance — it gets better as it sits and the layers meld together.

Tried this recipe?

Let us know how it was!