
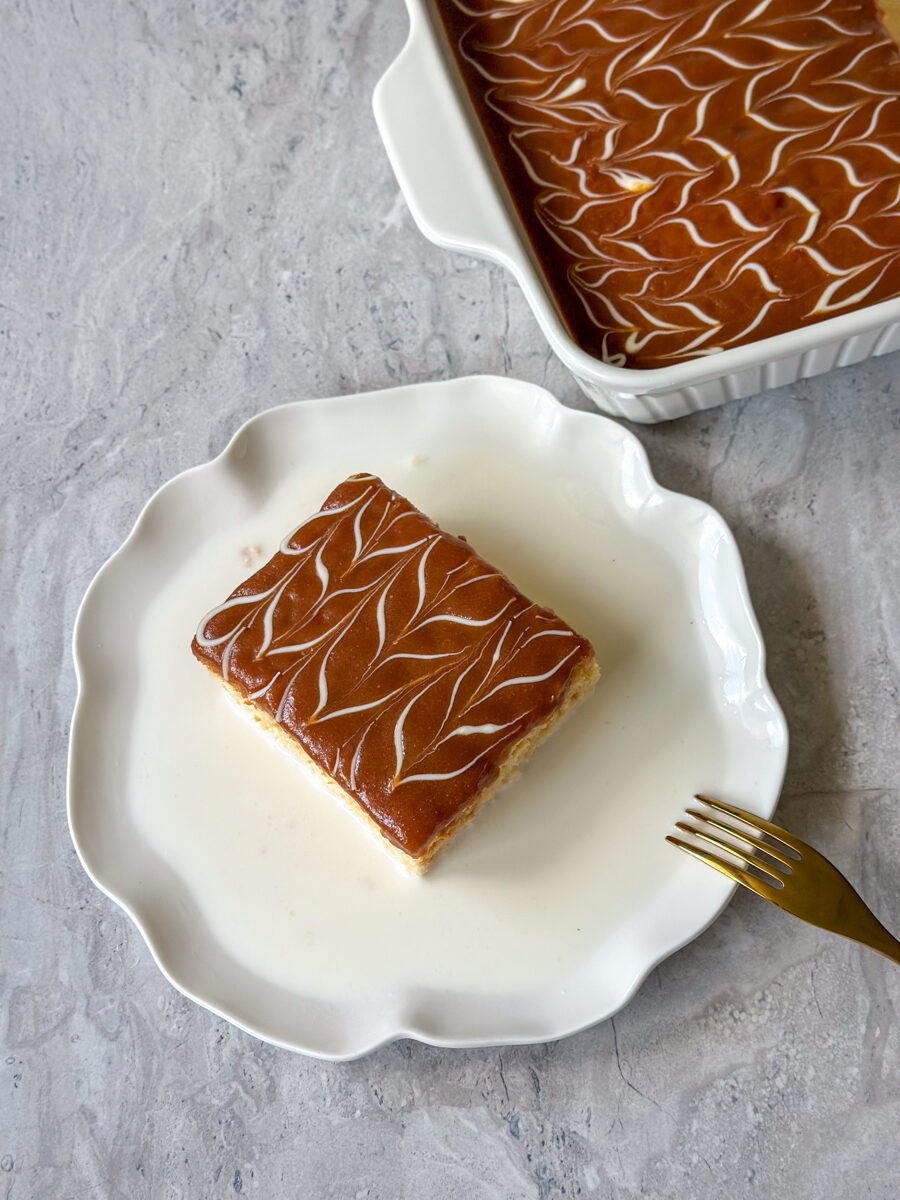
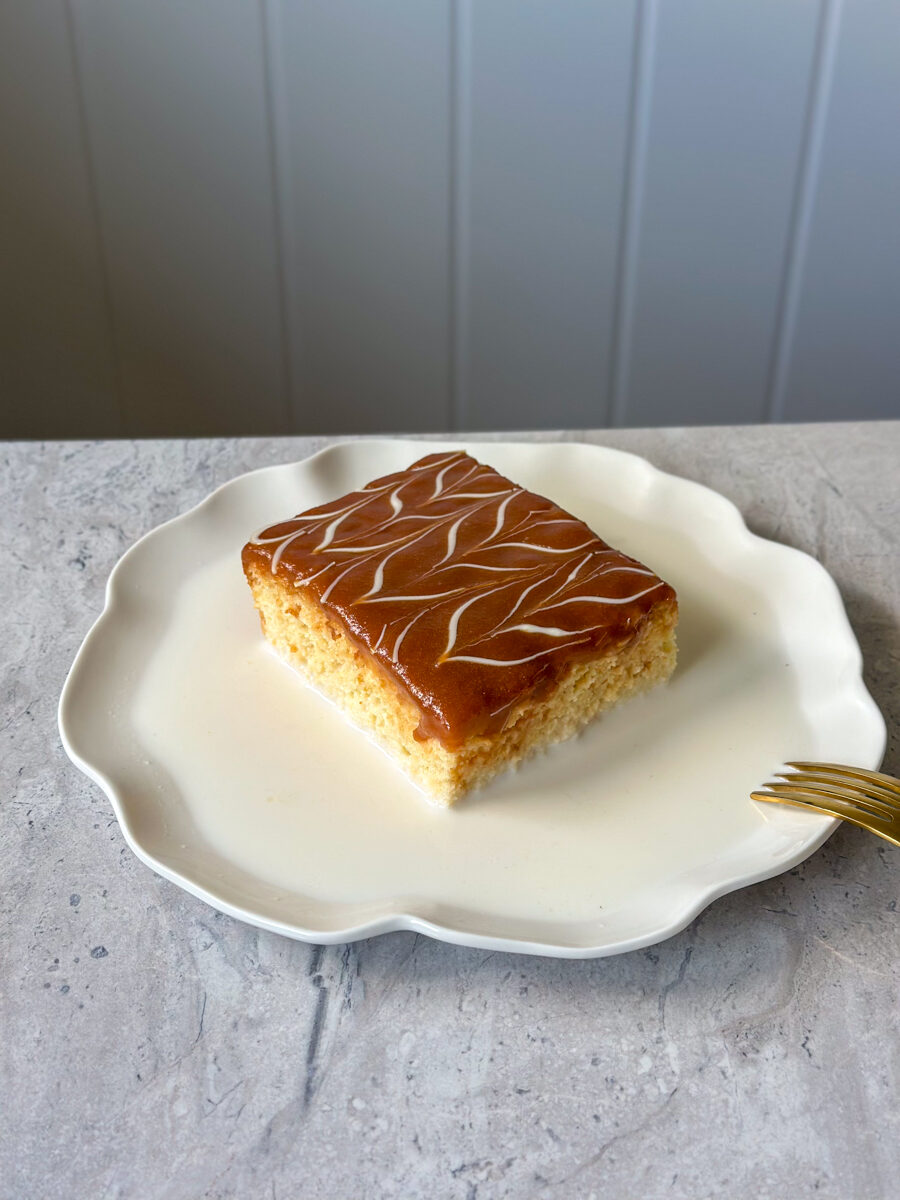
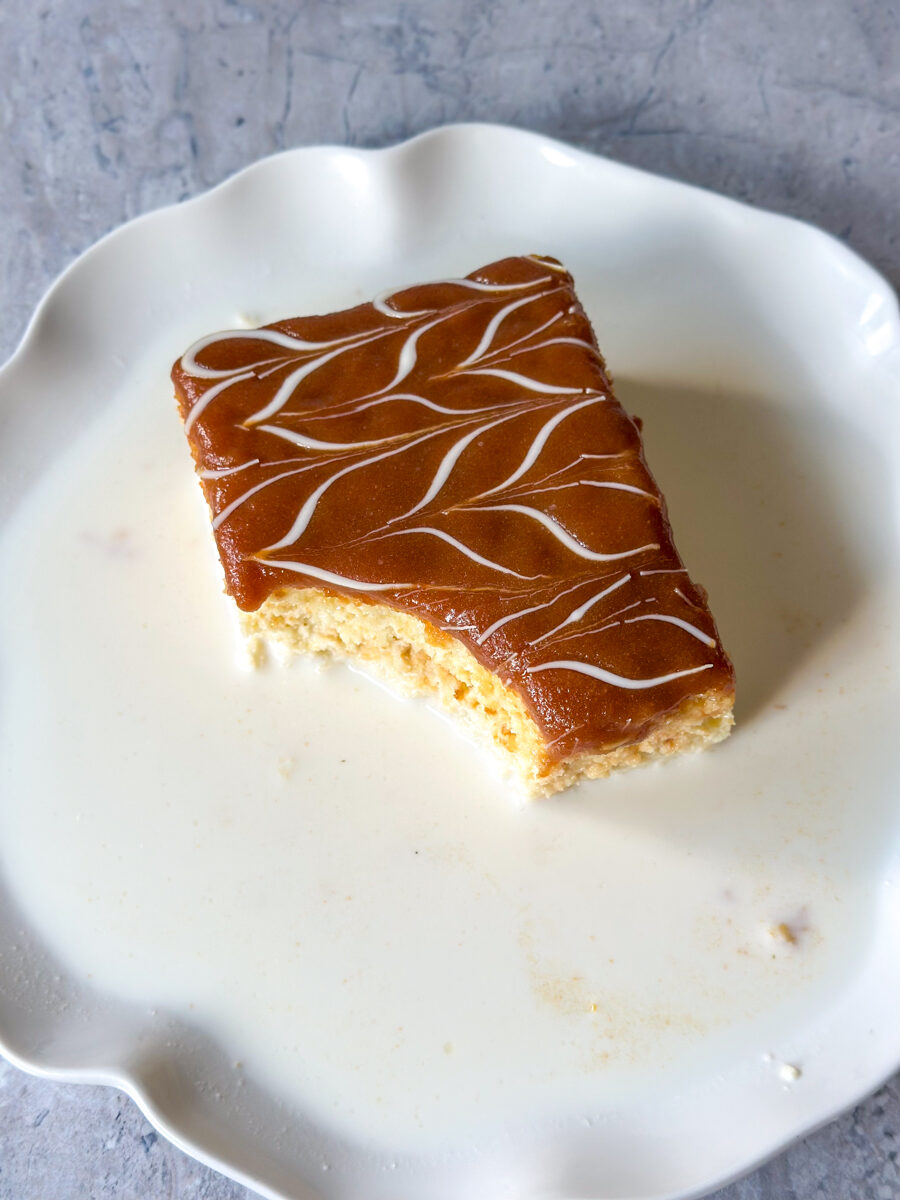
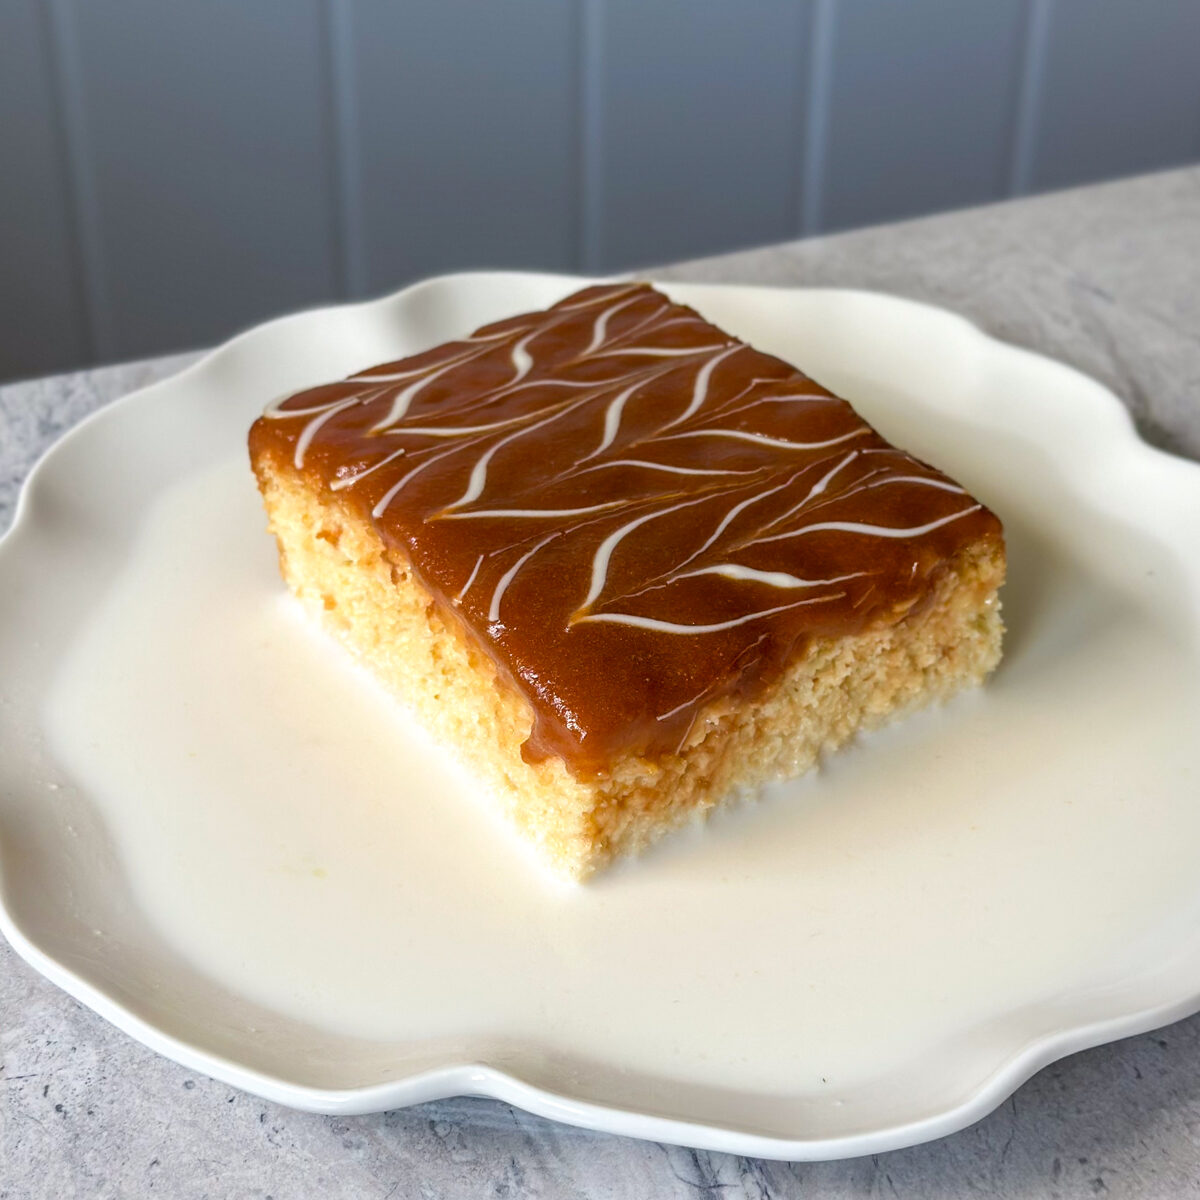
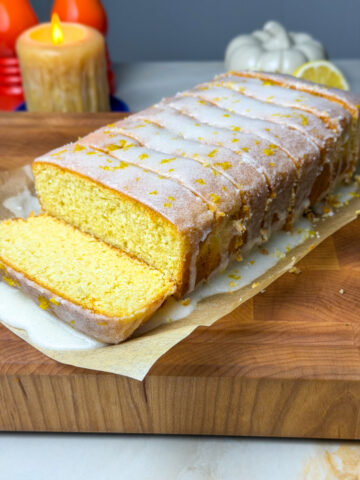
Craving the perfect summer dessert? This super easy vanilla milk cake is an absolute crowd pleaser! It's soaked in milk with a salted caramel layer overtop that brings everything together so well! You're gonna love it...

This cake is inspired by the Spanish milk cake, "Tres Leches". However, instead of using three milks, this recipe only calls for two! Easier, tastier & the best way to make it!
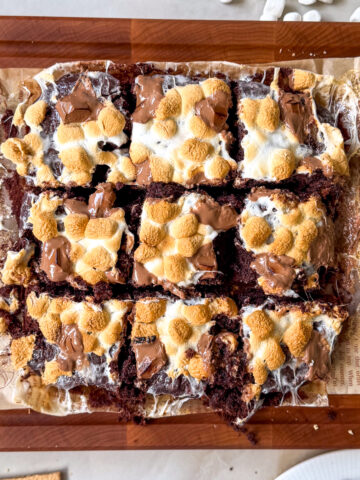
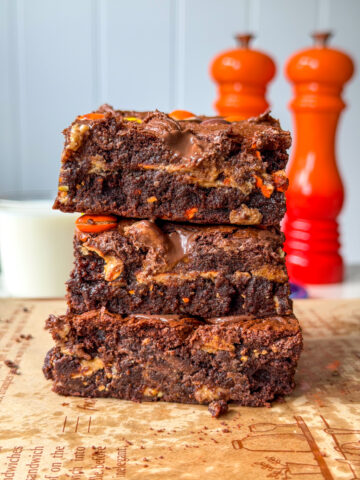
If you love summer desserts, you are also going to love my my Single serving Molten Lava Cake, 3 ingredient Oreo Cake & Fudge Oreo Brownies!
Jump to:
Ingredients
- All-Purpose Flour
- Eggs
- Granulated Sugar
- Vanilla Extract
- Whole Milk
- Neutral Oil
- Heavy Cream
- Whole Milk
- Unsalted Butter
See recipe card for quantities.
Instructions
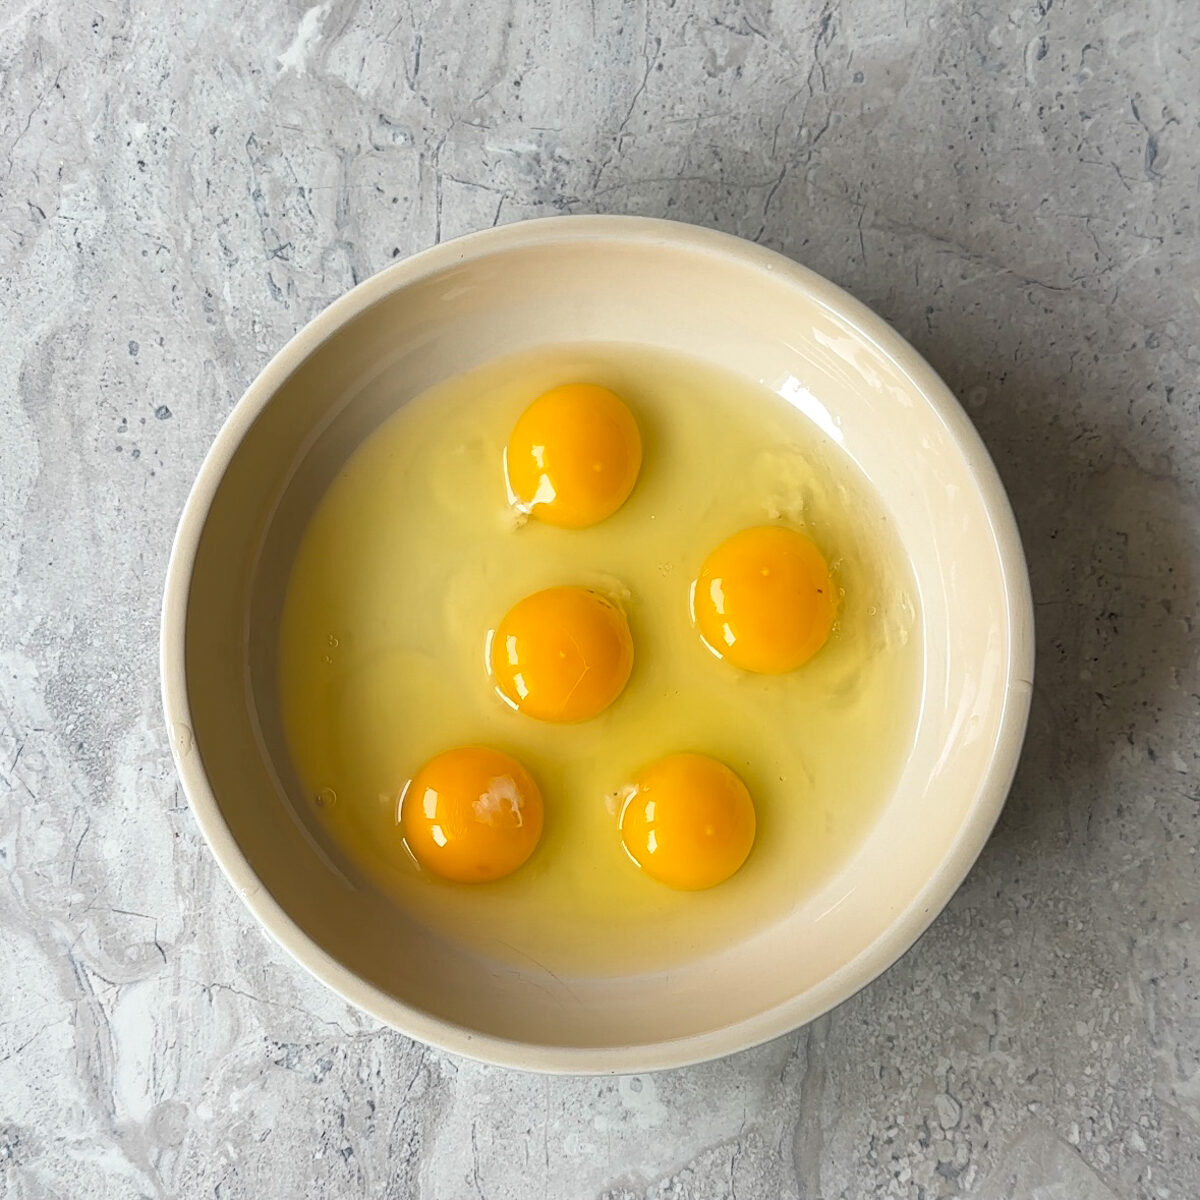
Crack 5 eggs & mix in the wet ingredients!
Add the dry ingredients to the wet ingredients!
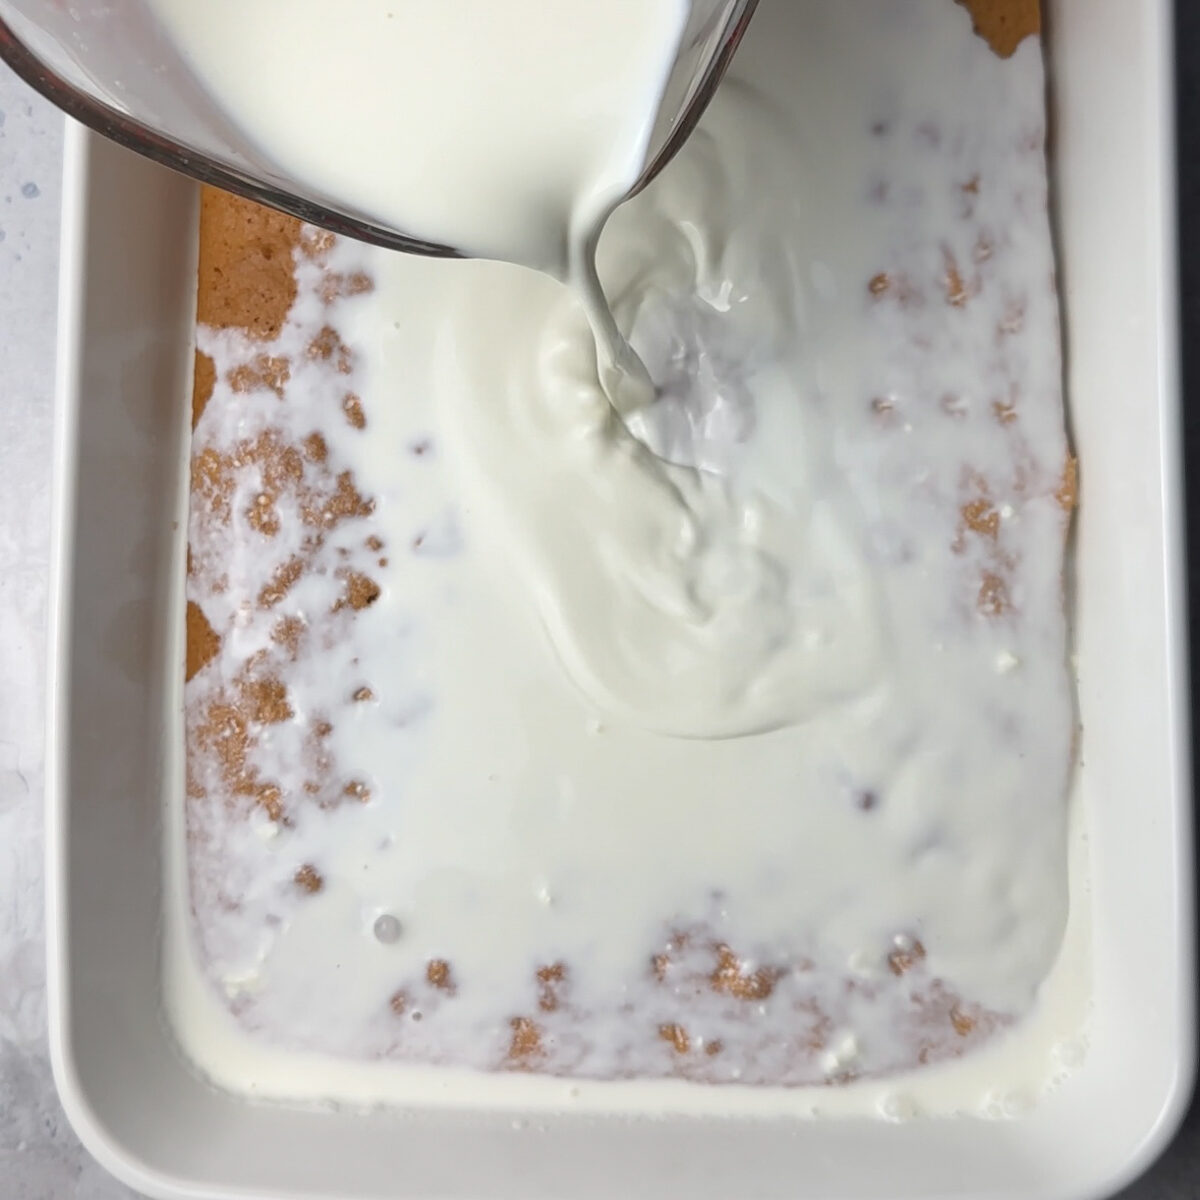
Transfer to a baking dish & bake, once cooled add the milk!
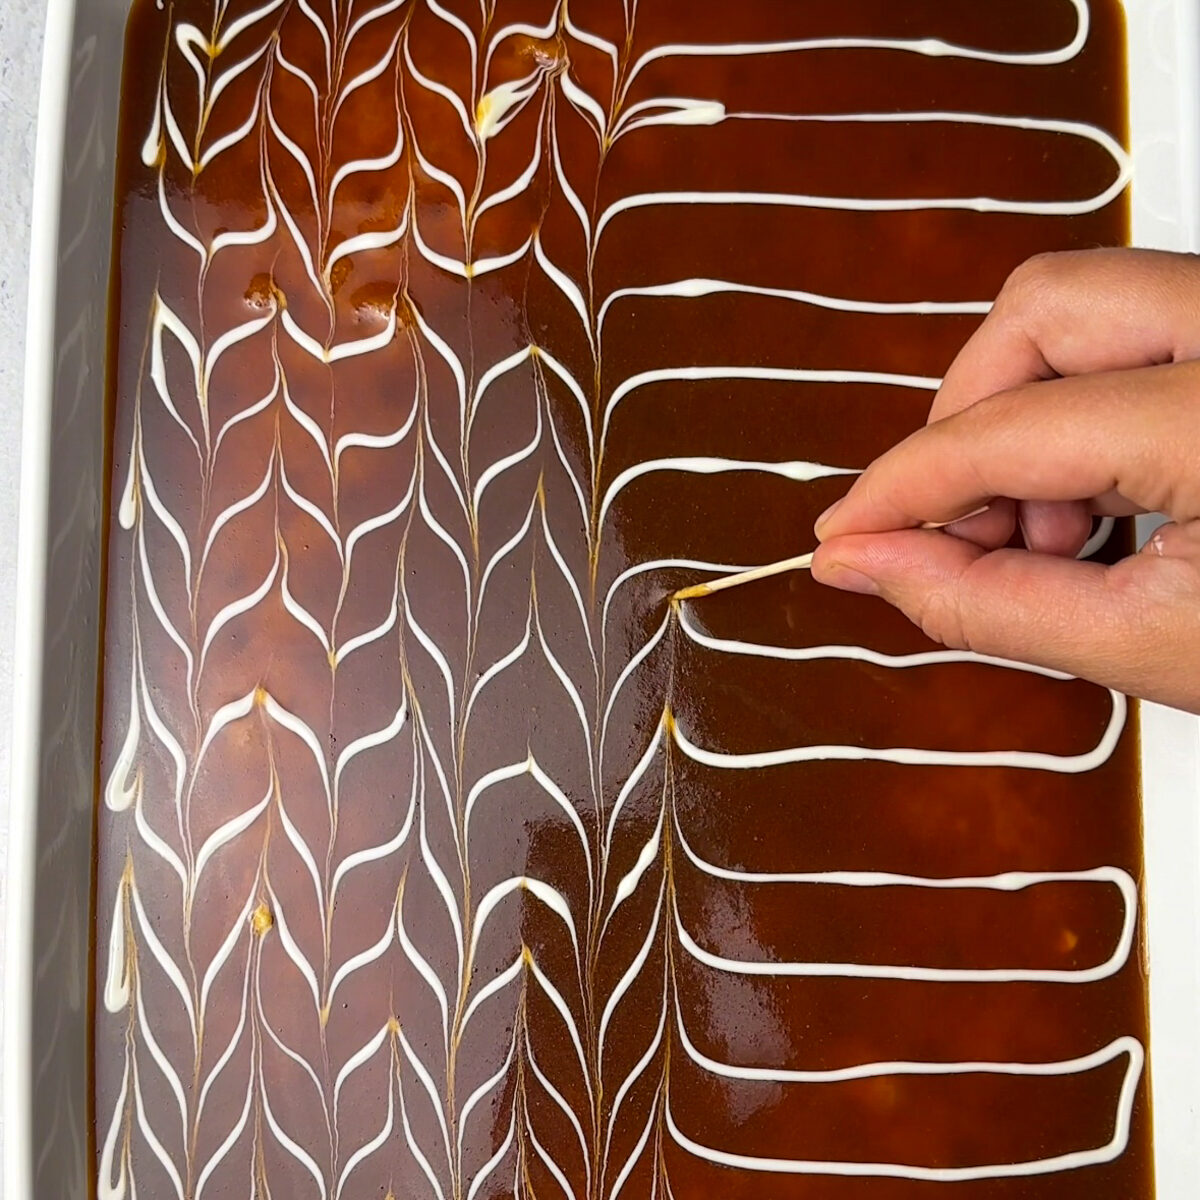
Add the caramel & white chocolate!
- Make the Cake:
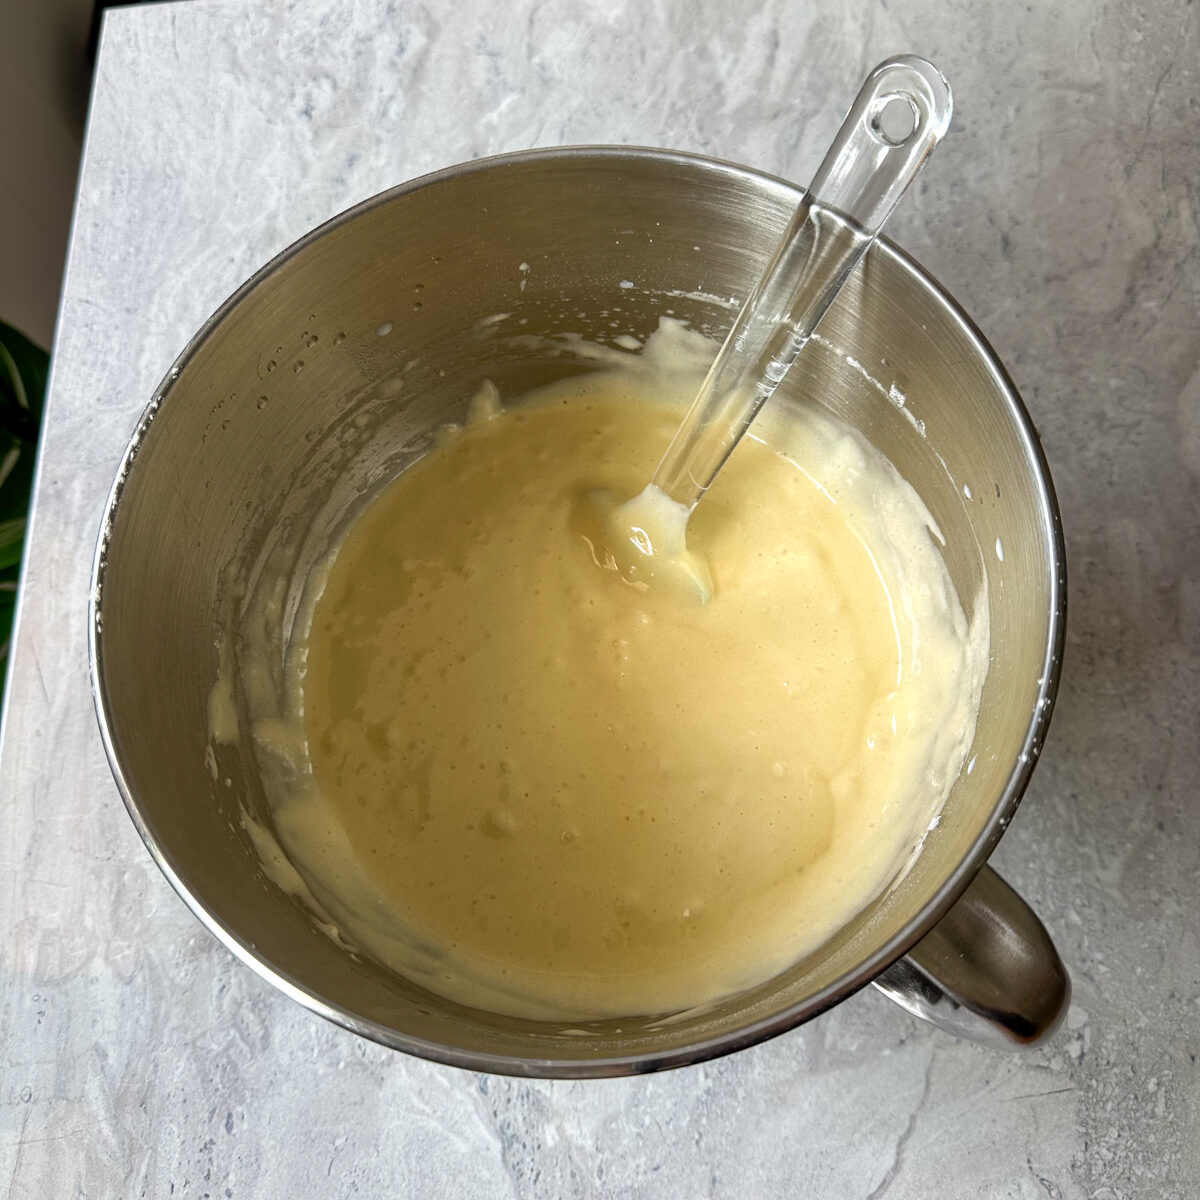
Beat eggs and sugar until pale and fluffy (10 min). Mix in vanilla, milk, and oil. Gently fold in sifted dry ingredients. Pour into a greased 9x13 pan and bake at 350°F for 20–30 min. Cool 20 min. - Soak the Cake:
Whisk heavy cream and milk. Poke holes all over the cake, then slowly pour milk mixture on top. Refrigerate for 30 min. - Make the Caramel:
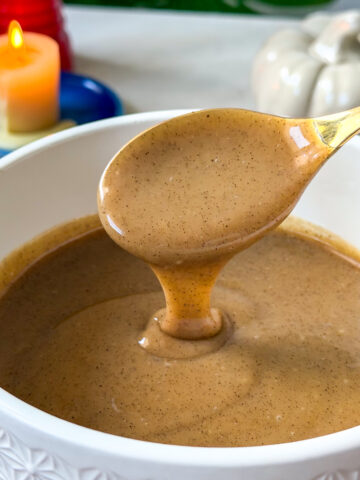
Melt sugar in a saucepan without stirring. Once golden, add cream and water (it will bubble), then stir in butter off heat. Cool to room temp. - Decorate:
Drizzle cooled caramel over cake. Pipe melted white chocolate in lines, then drag a toothpick through to create a feathered look. Chill at least 4 hours or overnight.
Substitutions
- Whole Milk → Evaporated milk or condensed milk (adds extra creaminess and sweetness)
- Heavy Cream → Coconut cream or full-fat evaporated milk (to maintain richness without heavy dairy)
- Granulated Sugar (for cake and caramel) → Brown sugar (for a deeper caramel flavor but still melts well)
- Neutral Oil → Melted unsalted butter (adds richness without changing texture)
- Eggs → Aquafaba (chickpea water) whipped to soft peaks (for a lighter sponge, though texture may vary slightly)
Equipment
- Stand Mixer or Hand Mixer
- Mixing Bowls (various sizes)
- Measuring Cups and Spoons
- Baking Dish (9 x 13)
Storage
Store the cake covered in the fridge for up to 5 days. For best texture, let it sit at room temperature for 10–15 minutes before serving. To freeze, wrap individual slices tightly in plastic wrap and foil, then freeze for up to 2 months. Thaw overnight in the fridge and enjoy chilled or at room temperature. Avoid freezing with white chocolate decoration for best results.
Top tips
Whip the Eggs Properly – Beat the eggs and sugar until light, fluffy, and doubled in volume; this gives the cake its airy texture without needing separate egg whites.
Don’t Skip the Soaking Time – Allow the cake to rest after soaking so it fully absorbs the milk mixture without becoming soggy.
Cool the Caramel – Let the caramel cool before pouring to prevent melting the top layer or sinking into the cake.
FAQs
Yes! Tres leches cake is actually better when made ahead. The longer it sits (ideally overnight), the more the milk mixture soaks in, resulting in a richer, creamier texture. Just decorate the top the day you plan to serve for the freshest look.
Caramel can harden if overcooked or if added to a cold cake too soon. Be sure to cook it just until it turns a deep amber and remove it from the heat as soon as it thickens. Let it cool to room temperature before drizzling so it stays smooth and spreadable.
You can, but the texture won’t be quite the same. A homemade sponge is light and airy, which helps it absorb the milk mixture without becoming too heavy. If using boxed mix, go for a light vanilla or butter cake and poke lots of holes for better absorption.
Related
Looking for other dessert recipes like this? Try these:
Easy vanilla milk cake recipe (authentic tres leches)
Ingredients
Equipment
Method
- Preheat oven to 350°F (175°C). Grease a 9x13 inch baking dish.
- In a stand mixer bowl, beat the eggs on medium speed until foamy.
- Add sugar one tablespoon at a time, beating continuously until the mixture has doubled in volume and is pale and fluffy—about 10 minutes.
- Add vanilla, milk, and oil. Beat again for 30 seconds to 1 minute until just combined.
- Sift in flour, baking powder, and salt. Gently fold using a spatula until smooth and combined—don’t overmix.
- Pour the batter into the prepared pan and bake for 20–30 minutes, or until golden and a toothpick inserted comes out clean.
- Allow the cake to cool in the pan for 20 minutes.
- In a large bowl, whisk together 2 cups heavy cream and 3 cups whole milk.
- Once the cake has cooled slightly, poke holes all over using a fork or toothpick.
- Slowly pour the milk mixture evenly over the cake, allowing it to soak in.
- Refrigerate for at least 30 minutes to absorb.
- In a heavy-bottomed saucepan over low heat, add the sugar and let it melt undisturbed.
- As it starts to melt and clump, gently stir with a wooden spoon to help it along.
- Once fully melted and amber in color, carefully whisk in the heavy cream and water—it will bubble up.
- Remove from heat and stir in the butter until smooth.
- Let the caramel cool to room temperature before using.
- Once the cake has chilled slightly and absorbed the milk, drizzle the cooled caramel over the top. Tilt the pan to help it spread naturally—avoid spreading with a spoon.
- Transfer the melted white chocolate to a piping bag or zip-top bag with the tip cut off. Pipe straight lines across the surface.
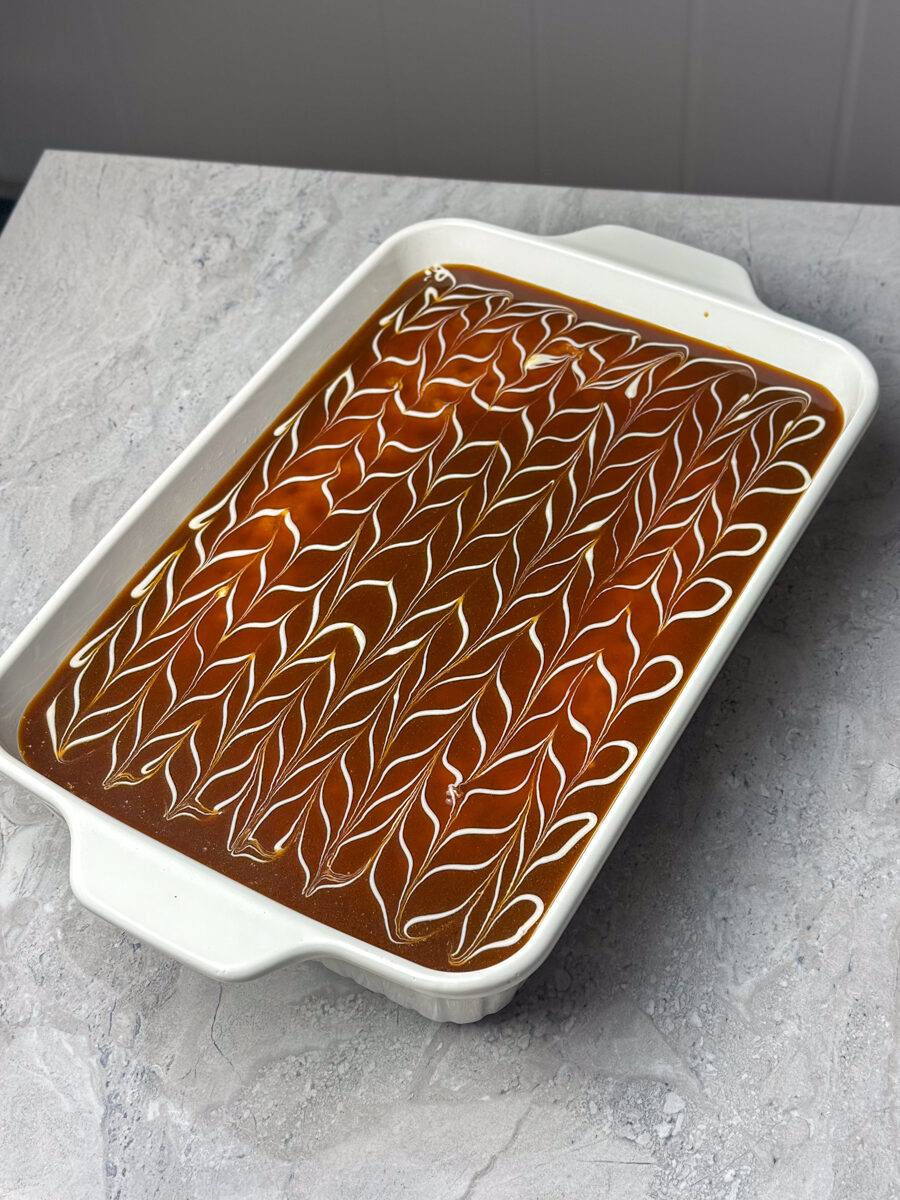
- Using a toothpick, drag it through the lines perpendicular to the direction you piped—alternating directions to create a feathered effect.
- Cover the cake and refrigerate for at least 4 hours, ideally overnight, to set fully.
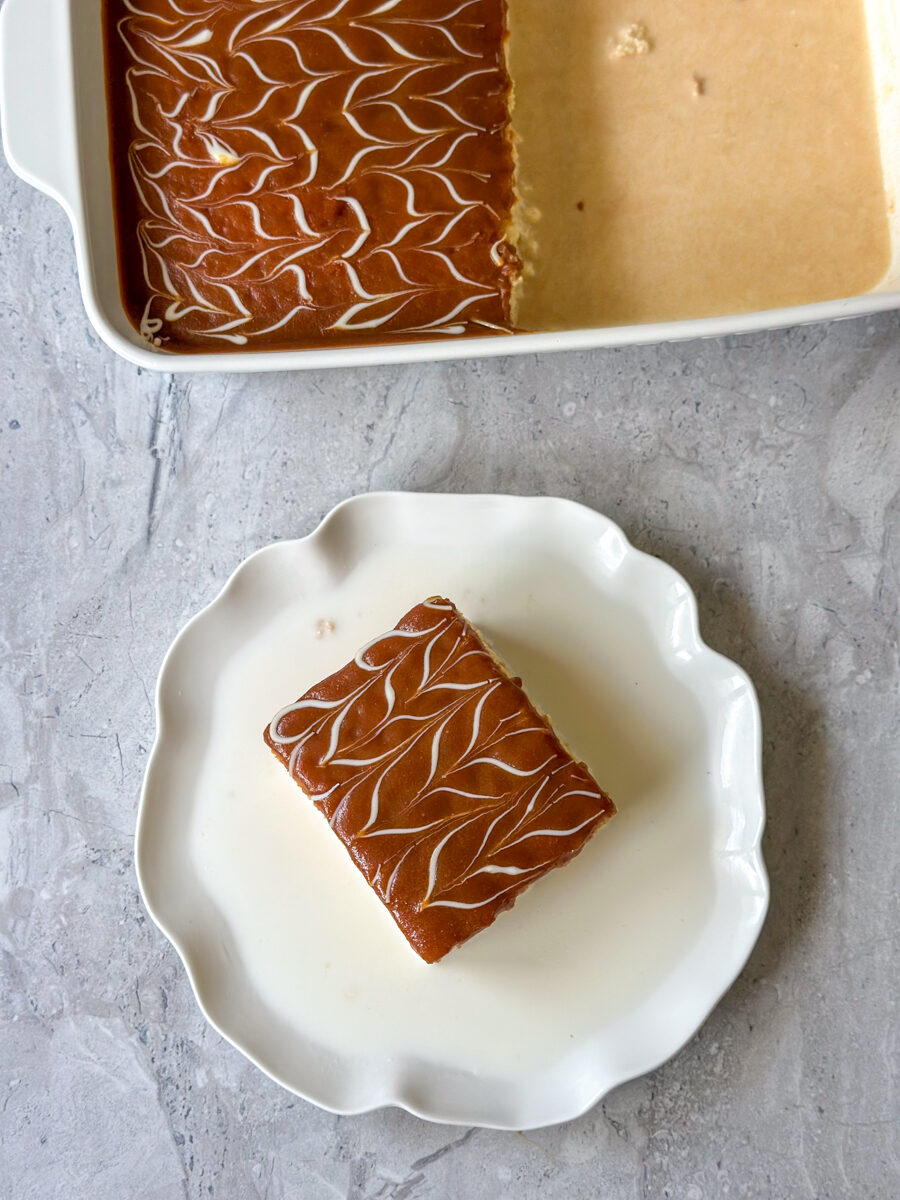
- Slice, serve chilled, and enjoy every creamy, caramel-y bite.
Tried this recipe?
Let us know how it was!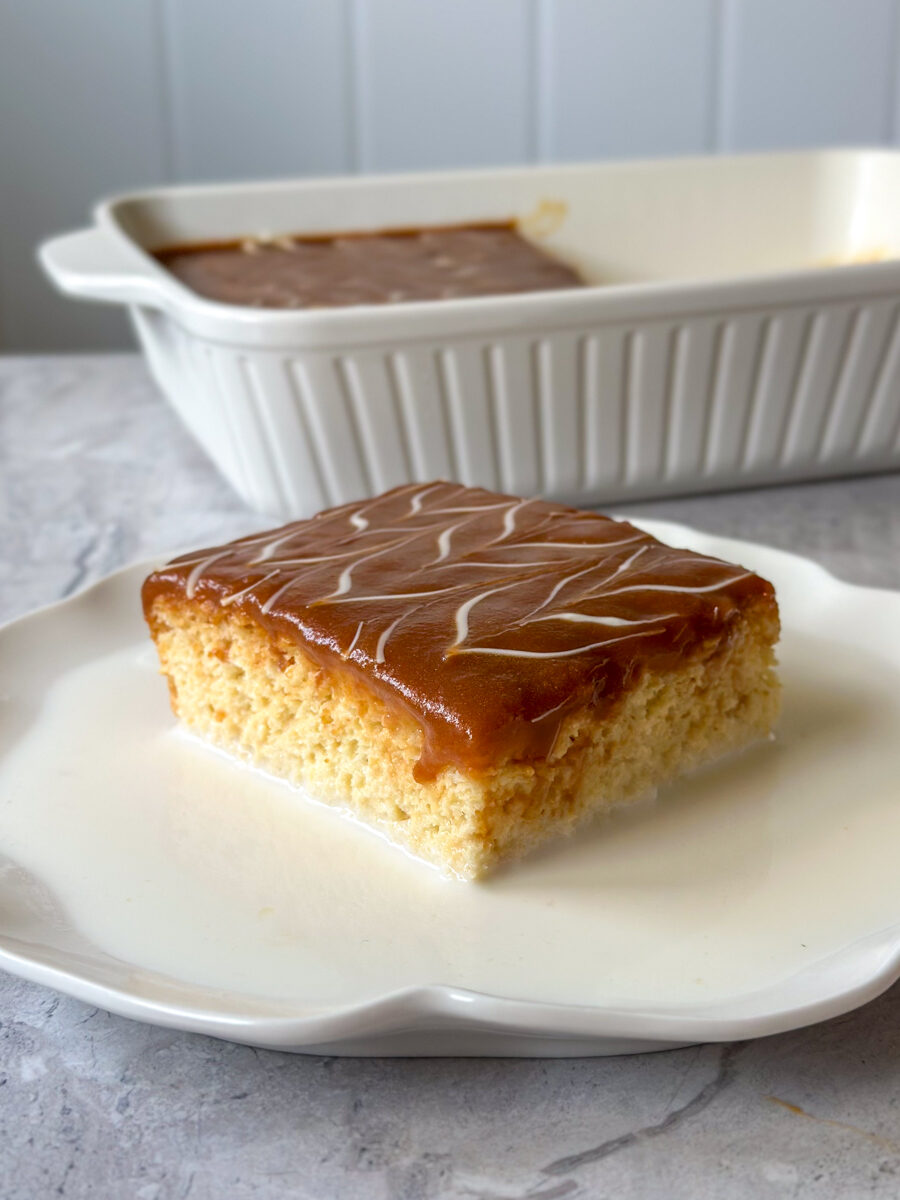
Food safety
- Don't leave food sitting out at room temperature for extended periods
- Never leave cooking food unattended
- Use oils with high smoking point to avoid harmful compounds
- Always have good ventilation when using a gas stove
Leave a Reply