
If you're looking for a quick, no-bake dessert that combines the irresistible flavors of Oreo cookies and creamy cheesecake, these Oreo Cheesecake Bites are a must-try!
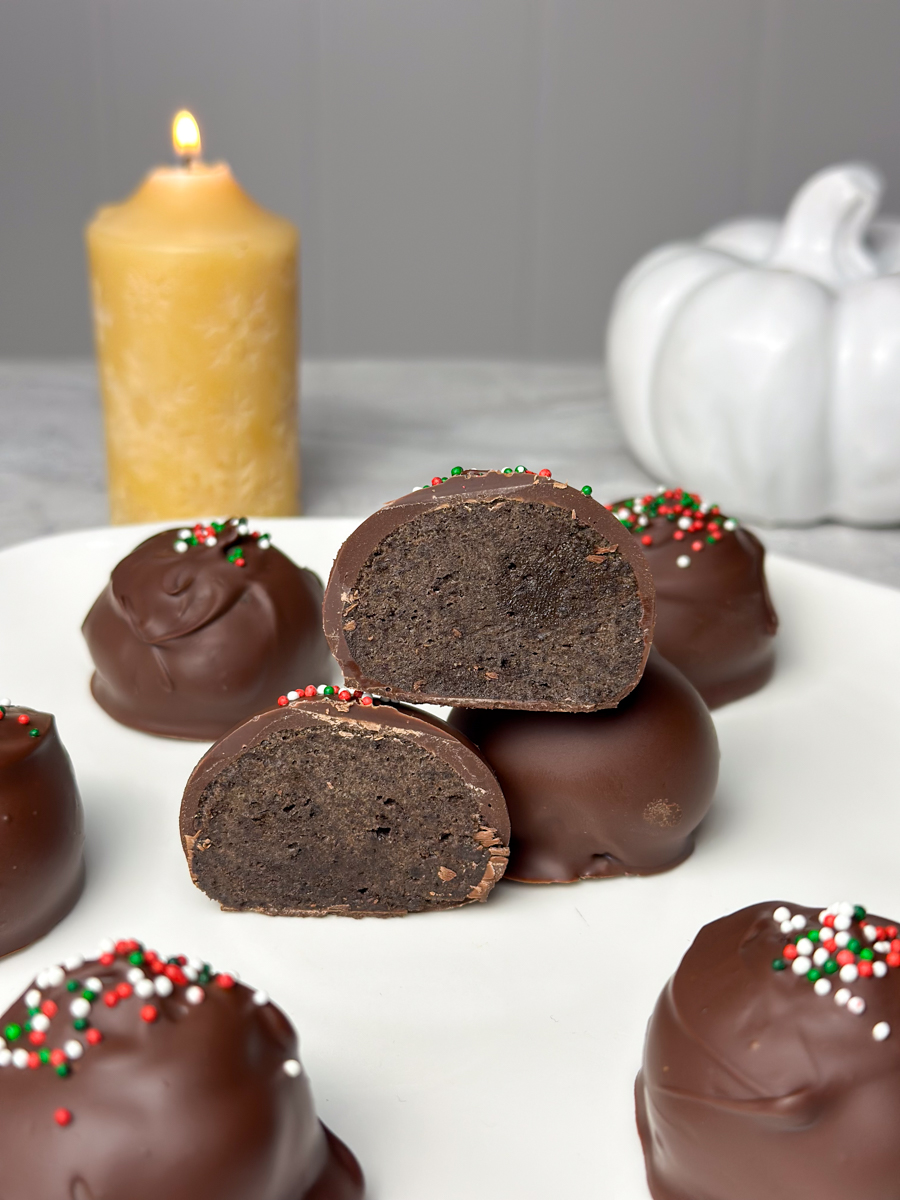
Perfect for any occasion, these bite-sized treats are easy to make, super customizable, and guaranteed to satisfy your sweet tooth.
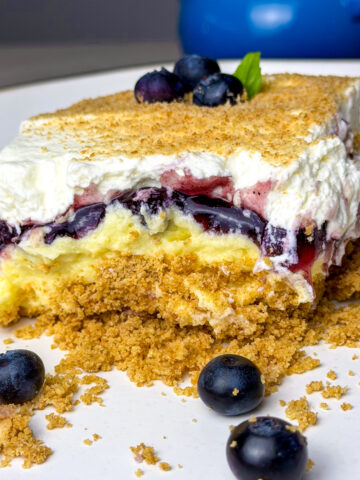
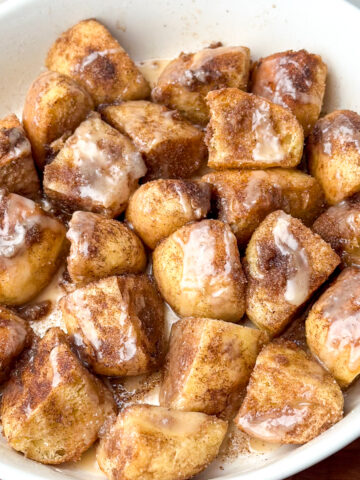
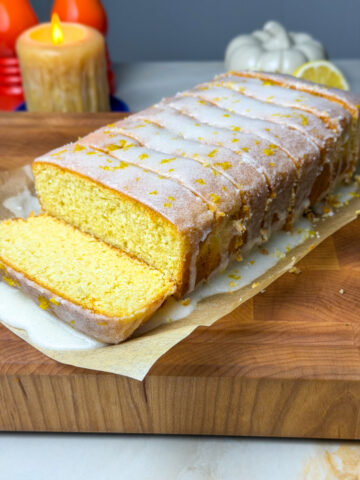
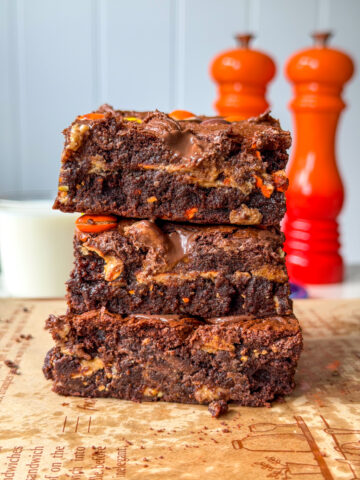
If you love chocolate desserts, Single Serving Molten Lava Cake, Brownie Cookie & French Hot Chocolate!
Jump to:
Ingredients (only 3!)

- Oreos
- Cream Cheese (Philadelphia)
- Semi-Sweet Chocolate Chips
See recipe card for quantities.
Instructions

Mix Oreos & cream cheese in a food processor to make the dough!

Roll into little balls & chill on parchment paper!

Dip in chocolate & decorate with sprinkles!

Chill again to let the chocolate harden & enjoy!
- Make the Filling: In a food processor, blend the Oreos into fine crumbs. Mix the crumbs with softened cream cheese until smooth and well combined.
- Form the Balls: Scoop out tablespoon-sized portions of the mixture and roll them into balls. If the mixture is too sticky, refrigerate for 15 minutes before rolling. Place on a baking sheet lined with parchment paper. Chill in the fridge for at least 1 hour or freeze for 30 minutes.
- Melt the Chocolate: In a microwave-safe bowl, melt the chocolate chips and oil in 20-second intervals, stirring after each time until smooth.
- Dip and Coat: Dip each Oreo ball into the melted chocolate, swirling to coat. Tap off any excess and place the balls back on the parchment-lined sheet. Garnish with sprinkles, extra Oreo crumbs, or drizzle with more melted chocolate while still wet.
- Chill to Set: Let the chocolate set by refrigerating the balls for 1 hour.
Scroll all the way down for the full recipe card!!

Substitutions
- Oreos: Other sandwich cookies (e.g., Hydrox, Joe-Joe's), homemade chocolate cookie crumbs, gluten-free chocolate cookies.
- Cream Cheese: vegan cream cheese
Equipment
- Food Processor
Storage
Store Oreo Cheesecake Balls in an airtight container in the fridge for up to one week. For longer storage, freeze them for up to one month. Just let them thaw for a few minutes before serving. They’re perfect for making ahead and enjoying later!
Top tips!
- Chill the Mixture Before Rolling: If your Oreo and cream cheese mixture is too sticky to roll into balls, refrigerate it for 15-20 minutes. This makes it much easier to handle and prevents your hands from getting too messy.
- Use Room Temperature Cream Cheese: Make sure your cream cheese is softened to room temperature before mixing. This helps create a smooth, well-blended filling, preventing any lumps and ensuring a creamy texture.
- Let the Chocolate Cool Slightly Before Dipping: After melting your chocolate, let it cool for about 5 minutes before dipping the Oreo balls. If the chocolate is too hot, it can melt the balls or cause a mess. A slightly cooler temperature will coat them perfectly without any issues!

FAQs
While low-fat cream cheese can be used, it may affect the texture and creaminess of the filling. Full-fat cream cheese gives the best rich, smooth consistency, so for the creamiest result, stick with the full-fat version!
Absolutely! Dark chocolate will give the Oreo balls a deeper, richer flavor. Just keep in mind it will be a bit less sweet than semi-sweet chocolate, so if you prefer a sweeter treat, you might want to add a little more sugar to the filling.
The chocolate should be allowed to set in the fridge for at least 1 hour. This ensures the coating hardens properly. If you're in a rush, you can freeze them for 30 minutes, but no longer than that or they may become too hard.
Related
Looking for other dessert recipes like this? Try these:

Easy mini Oreo Cheesecake Bites Recipe (3-ingredient)
Ingredients
Equipment
Method
- Make the Filling: In a food processor, blend the Oreos into fine crumbs. Mix the crumbs with softened cream cheese until smooth and well combined.
- Form the Balls: Scoop out tablespoon-sized portions of the mixture and roll them into balls. If the mixture is too sticky, refrigerate for 15 minutes before rolling. Place on a baking sheet lined with parchment paper. Chill in the fridge for at least 1 hour or freeze for 30 minutes.
- Melt the Chocolate: In a microwave-safe bowl, melt the chocolate chips and oil in 20-second intervals, stirring after each time until smooth.
- Dip and Coat: Dip each Oreo ball into the melted chocolate, swirling to coat. Tap off any excess and place the balls back on the parchment-lined sheet. Garnish with sprinkles, extra Oreo crumbs, or drizzle with more melted chocolate while still wet.
- Chill to Set: Let the chocolate set by refrigerating the balls for 1 hour.
Tried this recipe?
Let us know how it was!Food safety
- Don't leave food sitting out at room temperature for extended periods
- Never leave cooking food unattended
- Use oils with high smoking point to avoid harmful compounds
- Always have good ventilation when using a gas stove
Leave a Reply