
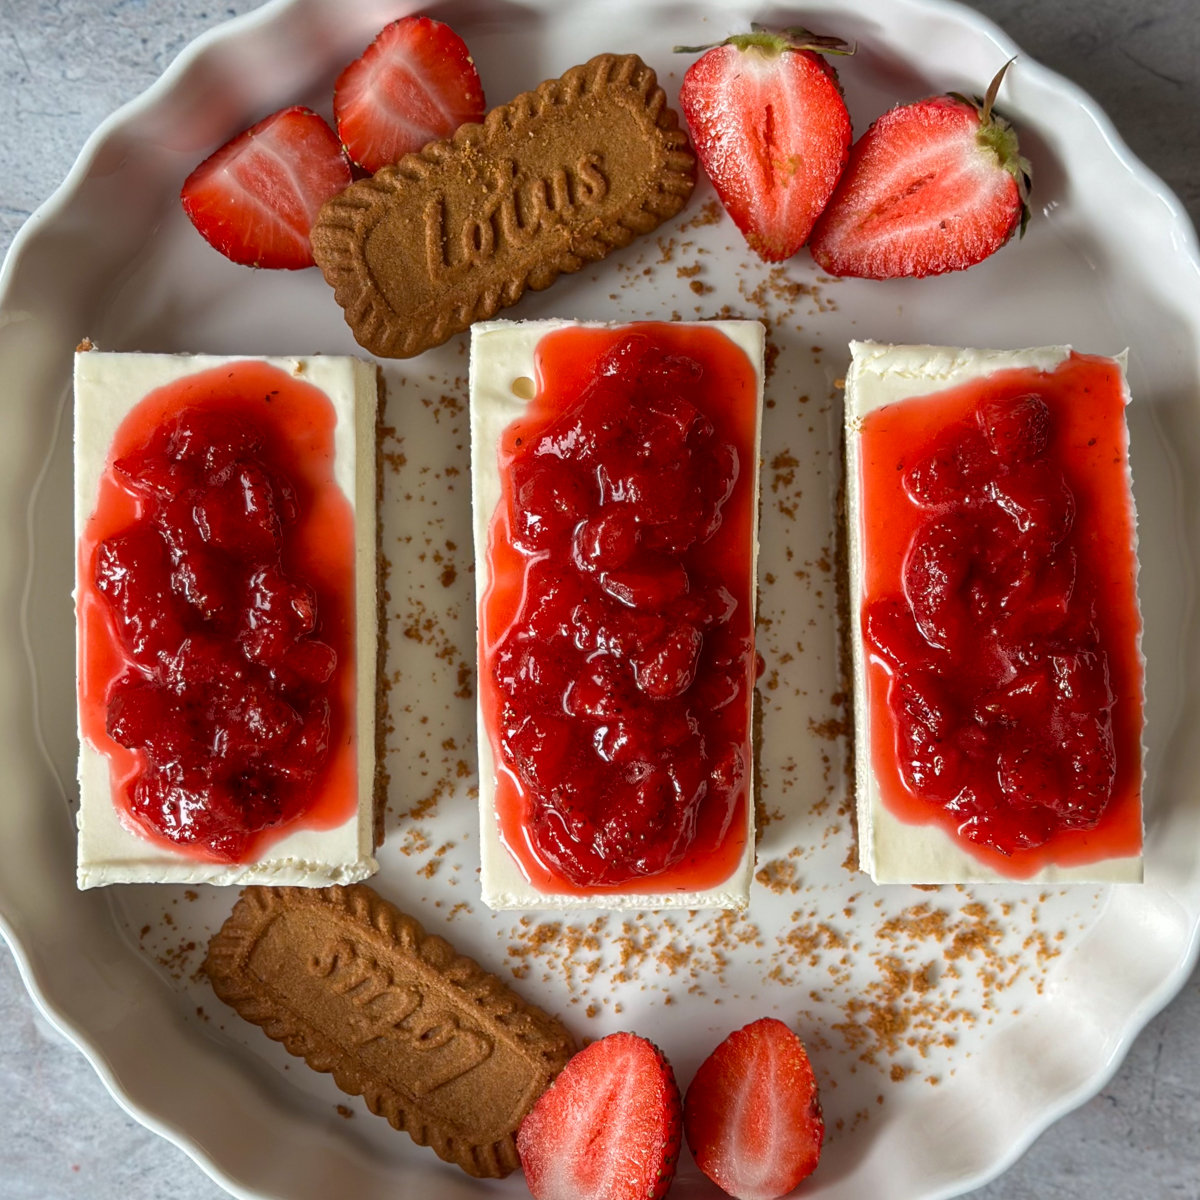
If you've been scrolling and seeing strawberry cheesecake bars absolutely everywhere lately, I get it — I couldn't stop thinking about them either. So I made my own version, and honestly? I think it might be better than the ones going viral. No oven, no baking, just a graham cracker crust, the creamiest whipped cheesecake filling, and a quick homemade strawberry jam on top.

This is a no-bake dessert, which means your hands-on time is only about 30 minutes — the rest is just letting your fridge do the work overnight. I tested this recipe a few times to get the filling right, and the trick is whipping the heavy cream in stages instead of dumping it all in at once. It makes the whole thing light, fluffy, and sliceable instead of dense or runny.
My grandma used to make these all the time when I was younger — summers back in Europe, sitting in her kitchen while she stirred the jam on the stove. Even back then, people would ask her for the recipe. It's such a simple step, but that quick strawberry jam is what really elevates these bars in the easiest way possible. Every time I make them now, it takes me right back to those summers.
These strawberry cheesecake bars are the kind of dessert that looks like you spent hours on it, but really it's just layering and patience. If you love easy no-bake desserts, you'll also want to check out my Single Serving Molten Lava Cake, No Bake Cookie Dough Bites & Tiramisu Cups!
Jump to:
Why You'll Love This Recipe

- No oven required — this entire dessert comes together on your stovetop and in your fridge, which makes it perfect for hot summer days when you don't want to touch your oven.
- Only 30 minutes of hands-on time — the crust, filling, and jam all come together quickly. The rest is just chilling.
- Great for meal prep and entertaining — make these a day ahead for a party, a date night dessert, or just to have something sweet in the fridge all week.
See recipe card for quantities.
Instructions

Make the Graham Cracker Crust Mixture

Press the mixture into an 8 x 8 inch pan

Add Cheesecake Mixture & freeze

Slice into bars with a sharp knife
No-Bake Strawberry Cheesecake Bars (Easy Recipe!)
Ingredients
Equipment
Method
- Make the Strawberry Jam: In a small saucepan over medium heat, combine the chopped strawberries, honey, and lemon juice. Cook for 8-10 minutes, stirring occasionally and gently mashing the strawberries as they soften, until the mixture thickens into a jammy consistency. (WATCH VIDEO BELOW) Remove from heat and set aside to cool completely while you prepare the crust and filling.
- Prepare the Crust: In a small bowl, combine the graham cracker crumbs, brown sugar, melted butter, and vanilla extract. Stir until the mixture is evenly moistened and holds together when pressed between your fingers.
- Press the Crust: Press the graham mixture firmly into the bottom of an 8- or 9-inch square pan (or a glass pie plate), using the bottom of a measuring cup to really pack it in for a sturdy base. (WATCH VIDEO BELOW) Refrigerate the crust while you make the filling.
- Beat the Cream Cheese: In a large bowl, beat the softened cream cheese and granulated sugar together using a hand or stand mixer on medium speed. Scrape down the sides of the bowl as needed, and keep mixing until it's completely smooth with zero lumps — this usually takes about 2-3 minutes.
- Add the Flavor: Add the vanilla extract and lemon juice to the cream cheese mixture, and mix until just combined.
- Whip in the Cream: Gradually pour in the heavy whipping cream in 3 to 4 increments, whipping well after each addition, until the mixture is fully incorporated, light, and fluffy. (WATCH VIDEO BELOW) This step is what gives the filling its signature airy texture, so don't rush it.
- Assemble: Pour the cheesecake filling over your chilled crust, spreading it into an even layer with an offset spatula or the back of a spoon.
- Chill: Cover the pan tightly with plastic wrap and refrigerate for at least 8-12 hours, or until the cheesecake is completely set. This step is non-negotiable — the bars need this time to firm up enough to slice cleanly.
- Serve: Before slicing, run a knife around the edges of the pan to loosen the bars. Slice into squares, wiping your knife clean between cuts for neat edges. (WATCH VIDEO BELOW) Top each bar with a spoonful of your cooled strawberry jam right before serving.
Notes
Storage
- Fridge: Store leftover bars covered tightly in the pan, or in an airtight container, for up to 5 days.
- Reheat: These are meant to be served cold, so no reheating needed — just take them out of the fridge about 5-10 minutes before serving for the best texture.
- Freezer: You can freeze the bars (without the jam topping) tightly wrapped for up to 1 month. Thaw overnight in the fridge before adding fresh jam and serving.
Tried this recipe?
Let us know how it was!
Substitutions
- Graham cracker crumbs: digestive biscuits or crushed vanilla wafers + a note that texture will be slightly different but still delicious.
- Honey: granulated sugar or maple syrup work as a 1:1 swap in the jam.
- Fresh strawberries: frozen strawberries work just as well — no need to thaw first, just add a couple extra minutes of cook time.
- Cream cheese: a dairy-free cream cheese alternative (like Kite Hill or Violife) works if you need this dairy-free, though the texture will be slightly softer.
- Heavy whipping cream: coconut cream (chilled, solid part only) as a dairy-free option, though the flavor will be slightly different.
- Granulated sugar: coconut sugar works as a less-refined swap, though it will darken the filling slightly.
- Unsalted butter: salted butter works fine — just skip adding any extra salt elsewhere in the crust.
- Lemon juice: lime juice works in a pinch and gives a slightly different, still delicious brightness.
- Vanilla extract: vanilla bean paste for an even more fragrant, flecked filling.

Equipment
- 8x8 inch pan
- Mixing Bowls
- Electric Mixer

FAQ
Can I use frozen strawberries instead of fresh?
Yes, frozen strawberries work perfectly in this recipe and you don't even need to thaw them first. Just add them straight to the saucepan and cook for a couple of extra minutes to account for the extra moisture.
Can I make these strawberry cheesecake bars ahead of time?
Yes, these bars are actually best made a day ahead since they need 8-12 hours to chill and set. You can make them up to 2 days in advance and store them covered in the fridge until ready to serve.
Why is my cheesecake filling lumpy?
Lumpy filling almost always means the cream cheese wasn't fully softened before mixing. Let your cream cheese sit out at room temperature for a full hour, and make sure to scrape down the bowl several times while beating it.
Can I use store-bought strawberry jam instead of making my own?
Yes, store-bought jam works if you're short on time, though homemade jam has a fresher, less overly-sweet flavor since you control the sugar. If using store-bought, warm it slightly and stir to loosen it before spreading.
Do these bars need to be baked?
No, this is a fully no-bake recipe — both the crust and the filling set in the refrigerator rather than the oven. That's what makes this such an easy, low-effort dessert.
Can I freeze strawberry cheesecake bars?
Yes, you can freeze the bars without the jam topping for up to 1 month. Thaw them overnight in the fridge and add fresh jam right before serving for the best texture.
Related
Looking for other dessert recipes like this? Try these:

Pairing
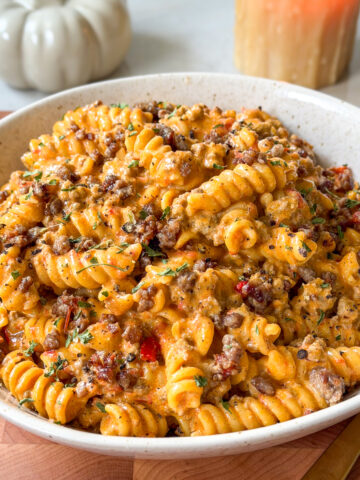
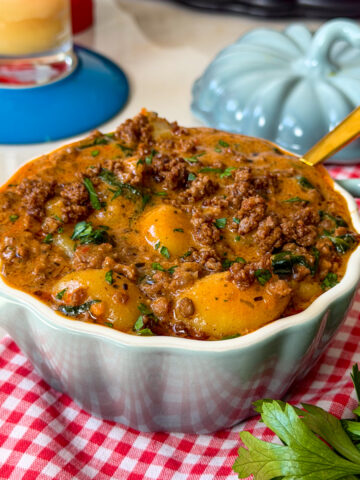
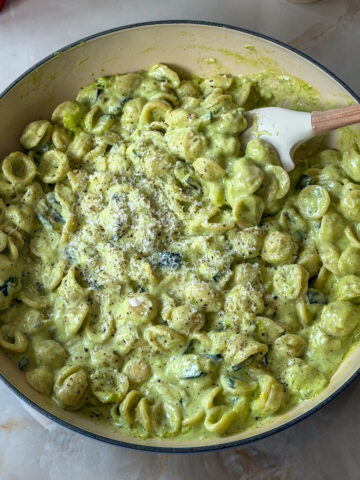
These are my favorite pasta dishes to serve:
Food safety
- Don't leave food sitting out at room temperature for extended periods
- Never leave cooking food unattended
- Use oils with high smoking point to avoid harmful compounds
- Always have good ventilation when using a gas stove
See more guidelines at USDA.gov.


Leave a Reply